AvNav Main Page
Overview
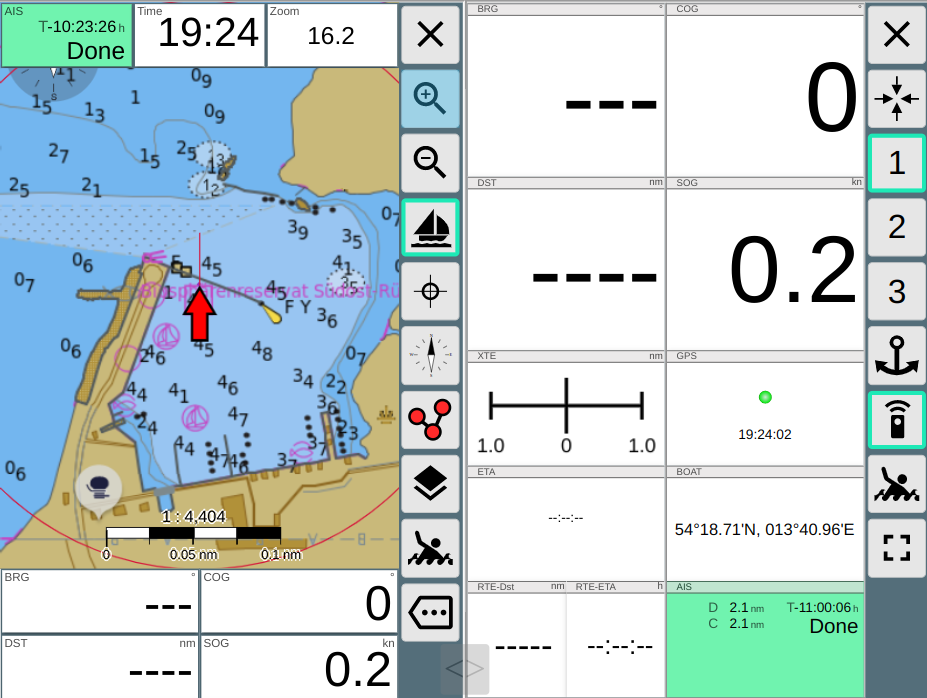
Buttons
| Icon | Name | Description |
| ShowStatus |
status page for the server |
|
| ShowSettings |
settings page |
|
| ShowDownload |
files/downloads for download/upload/delete/edit of charts, tracks, routes, layouts, user files, images |
|
| Connected | if active - sync waypoints and routes with the server, otherwise keep them locally only | |
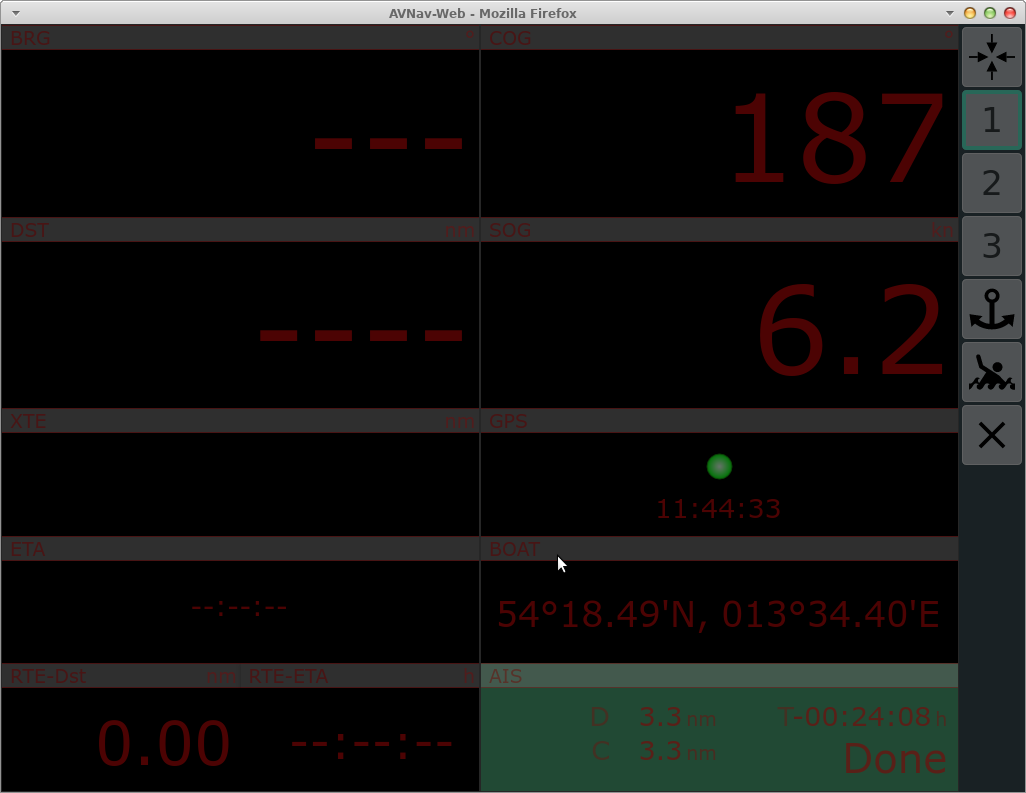
| ShowGps |
dashboards |
|
| Night |
night mode |
|
| MOB | man over board (only visible if connected and a valid position is available) | |
| NavOverlays | editing the default default overlays | |
| FullScreen | Fullscreen on/off (supported browsers only) | |
| MainAddOns | display of configured user apps (e.g. signalk) | |
| RemoteChannel | Switch the remote control channel and mode | |
| Split | Switch Split Mode on or off |
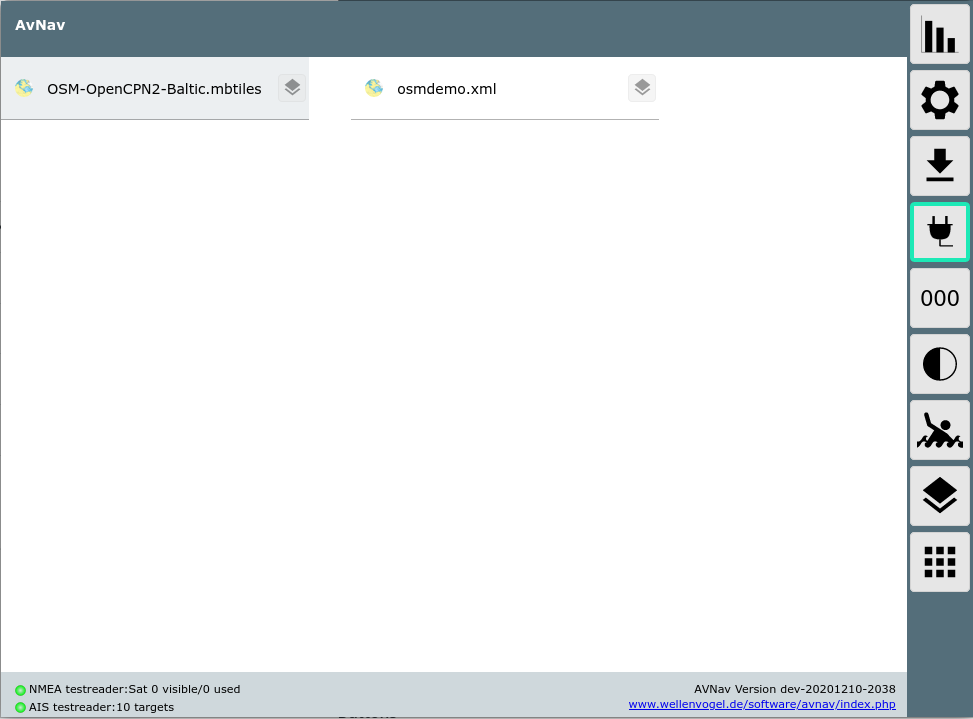
In the page main area there is the list of charts available on the server (files at /home/pi/avnav/data/charts on raspi, on android charts in the choosen directory).
After first installation you will see some/one online demo charts. They can only be used when connected to internet, of course.
You can upload further charts via the files/download page or copy them directly into the correct directory (raspberry) or read them from a selected directory (android).
AvNav can read charts in the gemf format (preferred), since version 202003xx also in mbtiles format. You can also add online chart sources using an xml definition. For details refer to chart formats.
O-Charts need to be uploaded via the o-charts
Plugin or the ochartsng Plugin(reachable
via the ![]() button).
button).
If you have charts installed in SignalK, you will also see them here.
Next to each chart the ![]() button will open the overlay
editor for this chart.
button will open the overlay
editor for this chart.
By clicking on a chart entry you will be taken to the navigation page with the selected chart set.
Special Functions
Man over Board
Visible on all pages - but only if we are in connected mode - button ![]() with
green border and a valid GPS position is available.
with
green border and a valid GPS position is available.
By clicking on the MOB button the current position will turn into a
dedicated waypoint named "MOB". Any active routing will be stopped and the
route to the MOB waypoint will be activated. The display will switch to
the navigation page with the last selected chart. The chart will be
centered to the boat and a fixed zoom will be applied (can be preset in
settings). Additionally a MOB alarm will be triggered. The alarm can be
stopped. The MOB routing remains active until you click the MOB button
again.

If there was no selected chart before the display will go to the dashboard .
Night Mode
By clicking the ![]() button
you will activate the night mode. You can fine tune the dim factors in the
settings.
button
you will activate the night mode. You can fine tune the dim factors in the
settings.
Connected/ Not Connected
With the![]() button
you control how the route data is synced with the server. If it is active
(green border) you can modify data on the server. This includes all
changes on routing data (waypoints, start routing, stop routing, change
route)- they will be synced with the server immediately. This way they
will become visible on all connected displays.
button
you control how the route data is synced with the server. If it is active
(green border) you can modify data on the server. This includes all
changes on routing data (waypoints, start routing, stop routing, change
route)- they will be synced with the server immediately. This way they
will become visible on all connected displays.
If it is switched off, all routing changes will only be stored locally.
In this mode you can e.g. try out a new route without disturbing the helms
man or the auto pilot. If you connect later on, data from server will
always take precedence. To keep your changes you need to store them e.g.
in a new route with different name. If you are activating a route that
only has been stored locally (and you are connected again) this route now
will be synced to the server. At the files/download
page the symbol ![]() next
to the routes indicates if they are synced with the server. Also refer to
the description of the route
editor.
next
to the routes indicates if they are synced with the server. Also refer to
the description of the route
editor.
When in disconnected mode many functions at the files/download are disabled - so you typically cannot upload data or modify data on the server.
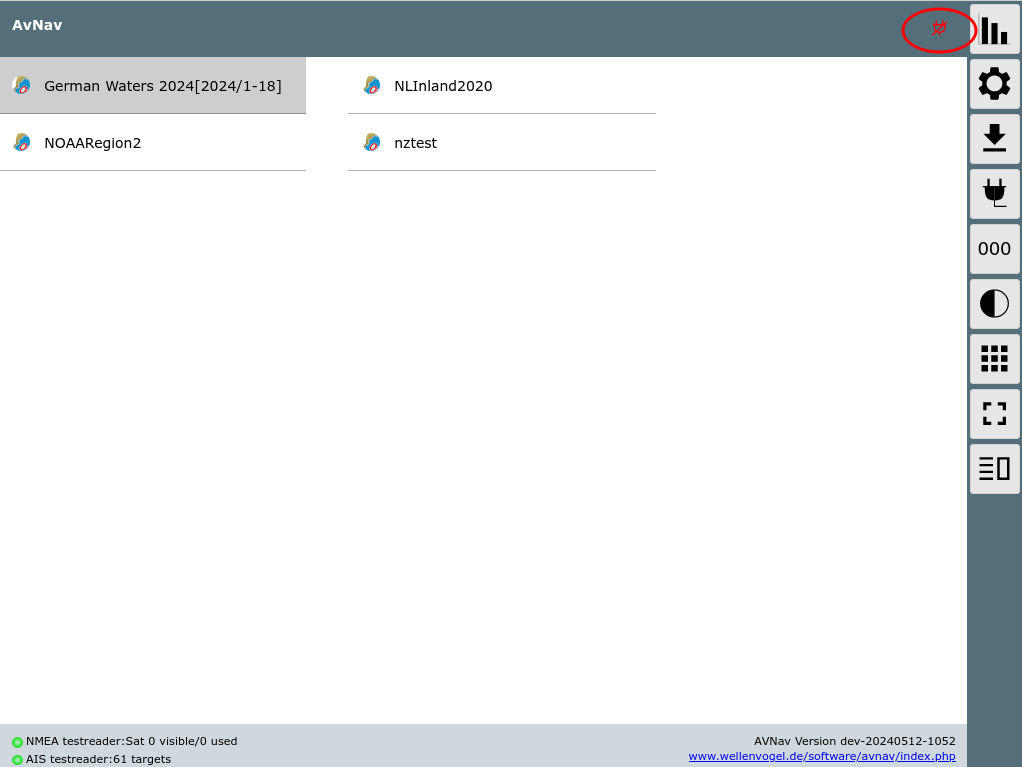
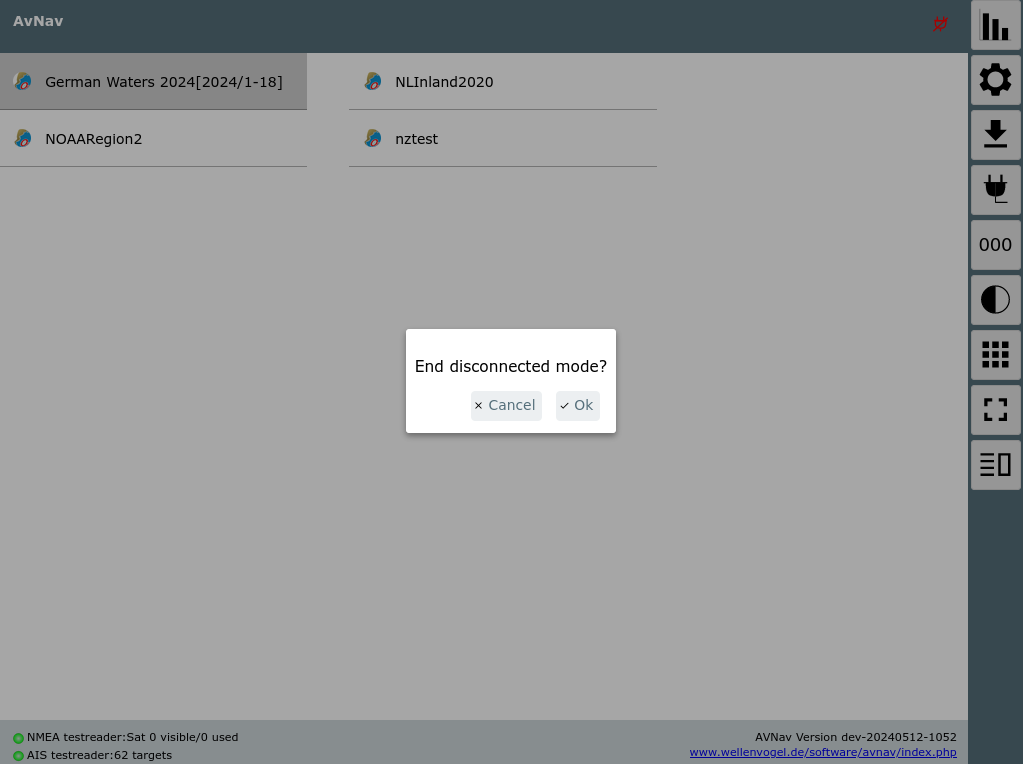
Since 20240520 the title bar shows a small red icon if you are in disconnected mode. By clicking this icon you can bring up a dialog to end the disconnected mode.
Anchor Watch
On the dashboard page you can activate an anchor watch.
Split Mode
Since version 20220819 AvNav can split it's main window. In this mode there are two instances of AvNav running in the same browser.
Both instances are mainly independent from each other and can be operated
separately.
They share most of the AvNav settings.
Only a couple of settings will be handled separately for each of the
instances (left/right). On the settings page
they will be marked with a *.
If you change settings (except the ones with a *) the changes will become
visible on the other instance immediately.
The following settings are specific per side:
| Name | Meaning |
| connectedMode | The "plug button" - if it is switched of the instance cannot make any changes at the server. You can test a route e.g. in this mode without influencing the server. |
| layoutName | The layout to be used |
| remoteChannelName | The name for the remote control channel |
| remoteChannelRead | Read from the remote control channel |
| remoteChannelWrite | Write to the remote control channel |
If you would like to have other/more settings to be specific per side you
can create a file splitkeys.json in the user directory. The default file
can be found at GitHub.
The names for the keys must be taken from the source
code in the properties section. All properties you list in the
splitkeys.json will afterwards be handled separately per side.
The settings that are specific per side will not be kept for the normal
display when leaving the split mode (but will be kept for the next split
mode entering).
Alarms will only be handled by the right instance.
Using the ![]() Split Button on each instance you can leave the
split mode.
Split Button on each instance you can leave the
split mode.
You can drag and drop the slider to change the window split.
Since 20240616 you can force AvNav to start in the same mode (split/unsplit) like it was left by enabling Settings->Layout->"start with last split mode".